diff options
Diffstat (limited to 'keyboards/lime/readme.md')
| -rw-r--r-- | keyboards/lime/readme.md | 30 |
1 files changed, 30 insertions, 0 deletions
diff --git a/keyboards/lime/readme.md b/keyboards/lime/readme.md new file mode 100644 index 000000000..539ae97fd --- /dev/null +++ b/keyboards/lime/readme.md | |||
| @@ -0,0 +1,30 @@ | |||
| 1 | # Lime Keyboard | ||
| 2 | |||
| 3 | 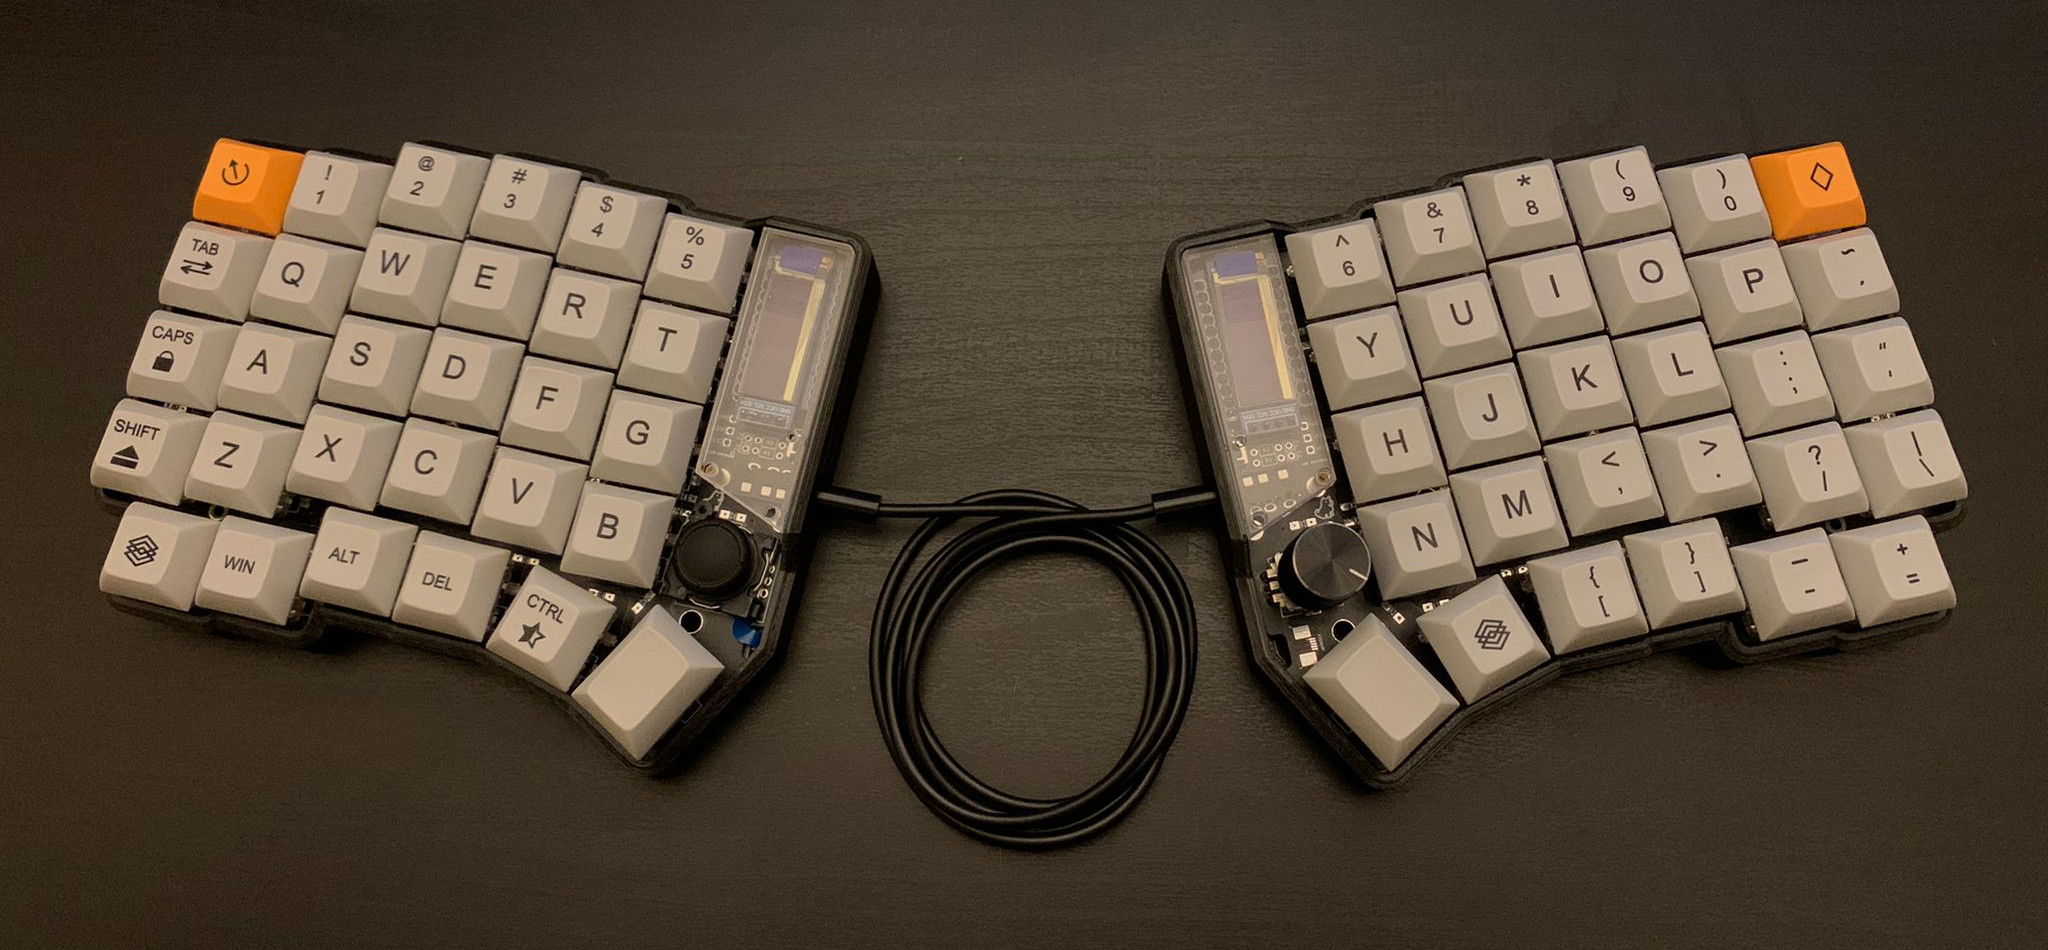 | ||
| 4 | |||
| 5 | Lime is a 6×4+6 keys column-staggered split keyboard with encoder and joystick support. Based on [Lily58](https://github.com/kata0510/Lily58), [Corne](https://github.com/foostan/crkbd), [Helix](https://github.com/MakotoKurauchi/helix) and [Sofle](https://github.com/josefadamcik/SofleKeyboard) keyboards. This board features a reversible PCB, OLEDs, Underglow and Bluetooth support. The PCB has holes for floating or screwed mounts but can be also mounted with a gasket. | ||
| 6 | |||
| 7 | The Lime keyboard was created by [HellTM](https://github.com/HellSingCoder) with the help of the QMK and custom keyboard community. | ||
| 8 | |||
| 9 | Build guide and a build log not available yet | ||
| 10 | |||
| 11 | * Keyboard Maintainer: [HellSingCoder](https://www.simonepellegrino.com/) (GitHub: [HellTM](https://github.com/HellSingCoder)) | ||
| 12 | * Hardware Supported: LimeKeyboard PCB, ProMicro | ||
| 13 | * Hardware Availability: [PCB & Case Data](https://github.com/HellSingCoder/LimeKeyboard) | ||
| 14 | |||
| 15 | Make example for this keyboard (after setting up your build environment): | ||
| 16 | |||
| 17 | make lime:default | ||
| 18 | |||
| 19 | Flashing example for this keyboard: | ||
| 20 | |||
| 21 | make lime:default:flash | ||
| 22 | |||
| 23 | Press reset button on he keyboard when asked. You can do that in 3 ways: | ||
| 24 | * **Physical reset button**: Briefly press the button near the TRRS connector on the PCB - if you haven't installed one, short the pads instead | ||
| 25 | * **Keycode in layout**: Press the key mapped to `RESET` (`Lower` + `Raise` + `Esc` on the default layout) | ||
| 26 | * **Bootmagic reset**: Hold down the key at (0,0) in the matrix (usually the top left key or Escape) and plug in the keyboard | ||
| 27 | |||
| 28 | Disconnect the first half, connect the second one and repeat the process. | ||
| 29 | |||
| 30 | See the [build environment setup](https://docs.qmk.fm/#/getting_started_build_tools) and the [make instructions](https://docs.qmk.fm/#/getting_started_make_guide) for more information. Brand new to QMK? Start with our [Complete Newbs Guide](https://docs.qmk.fm/#/newbs). | ||